Clouds are everywhere. Perhaps it is worth starting with this phrase. As soon as the user opens the browser, they already begin to use cloud technologies. The browser requests its servers, pulls up the necessary data, and the user experiences the same flow, despite the fact that they have already changed their device 10 times, whether it's a computer, smartphone, smart TV or refrigerator. The browser has recognized the user and the user sees the familiar interface.
Clouds are increasingly penetrating into the everyday life of the user. Therefore more and more developers are taking the clouds into their arsenal of tools, equipping the life of the user.
The problem
One of the popular tasks that developers have to solve is the dynamic configuration of what the user should see at one time or another. Sometimes you need to change the content of a site or web application without physically changing the code itself. And to be able to do this, the code must initially support the ability to dynamically load different content.
The most common case in which it is necessary to dynamically change content is AB testing. The condition is entered into the code that if a certain flag (called a feature flag) is set to true, then the user sees one scenario, otherwise another.
Moreover, one of the scenarios may not be completely working, and then you need to quickly prohibit seeing it, and therefore it can be dangerous since users can see non-working code for a long time, because you need to build the project again, and deliver the build to the production stand each time something broken.
Switching the feature flag remotely solves this problem.
Making config server
What would a naive implementation of this pattern look like?
You probably need to have a database to store dynamic configs, so you need a backend server that will help you manipulate these configs + UI service for convenient work.
In addition to the three services, you also need to think about authorization, since you can’t change configs just like that, as well as about load management, since requests to the config server practically duplicate requests to the application itself.
The result is a lot of work.
Better approach
Let's try to use the clouds from the introduction to find a better implementation.
As a result, we have - DB and server replaced by two lambda functions. Write and read config. The rest of the work falls on the shoulders of AWS.
The UI part moves, for example, to github or any other version control system. Moreover, in this case, we also delegate authorization and access management to github and remove a large layer of work from ourselves.
Let's take a closer look at this approach.

Let's start by deploying the API Gateway. You can use the template that I prepared for such purposes. The template is written on the serverless framework and allows you to deploy a simple API Gateway + DynamoDB in one command.
Next, we need to modify it a bit. Since our gateway will work in both directions (write and read), we need to correctly configure permissions so that the end application using the config can only read it, but cannot overwrite it in any way. For these purposes, we will use two different API keys. In general, it is a very good practice to use your own API key for each operation in order to track who and when accesses your service.
apiGateway:
  apiKeys:
    - ${self:custom.env.repoApiKey}
    - ${self:custom.env.appApiKey}
In the params of our handler, we write that the read config function is private and now AWS, when we are invoking this lambda, will expect the x-api-key header, the value for which we can find in AWS SSM, if, of course, we used the above template. The template contains instructions for creating such api key and storing it in SSM under the name /cfg-srv-exmpl/dev/apis/rest-api/app-api-key.
getConfig:
  handler: src/handlers/get-config.handler
  events:
    - http:
        method: get
        path: config
        cors: true
        private: true
The lambda itself is dead simple. We get the id of our config from query params and just read the config with this id from the database. At the same time, authorization took place in the background. If the function was invoked, it means AWS checked the request headers and everything is OK.
export const handler: APIGatewayProxyHandler = async (event) => {
  const id = event.queryStringParameters.id;
  const json = (await getConfigs()).find((i) => i.id == id);

  return HttpResponse.success(json);
};
Now let's move on to the "write" part.
- We create a repository on github where our config will be stored.
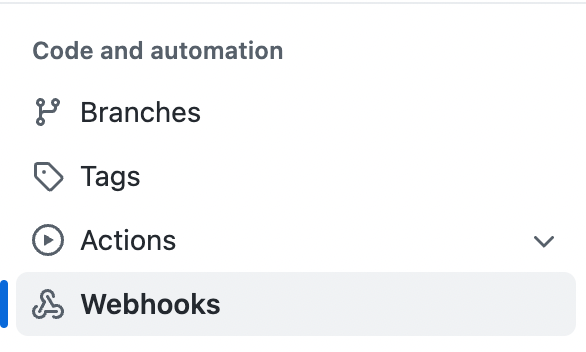
- We go into the settings and go to the Webhooks tab.

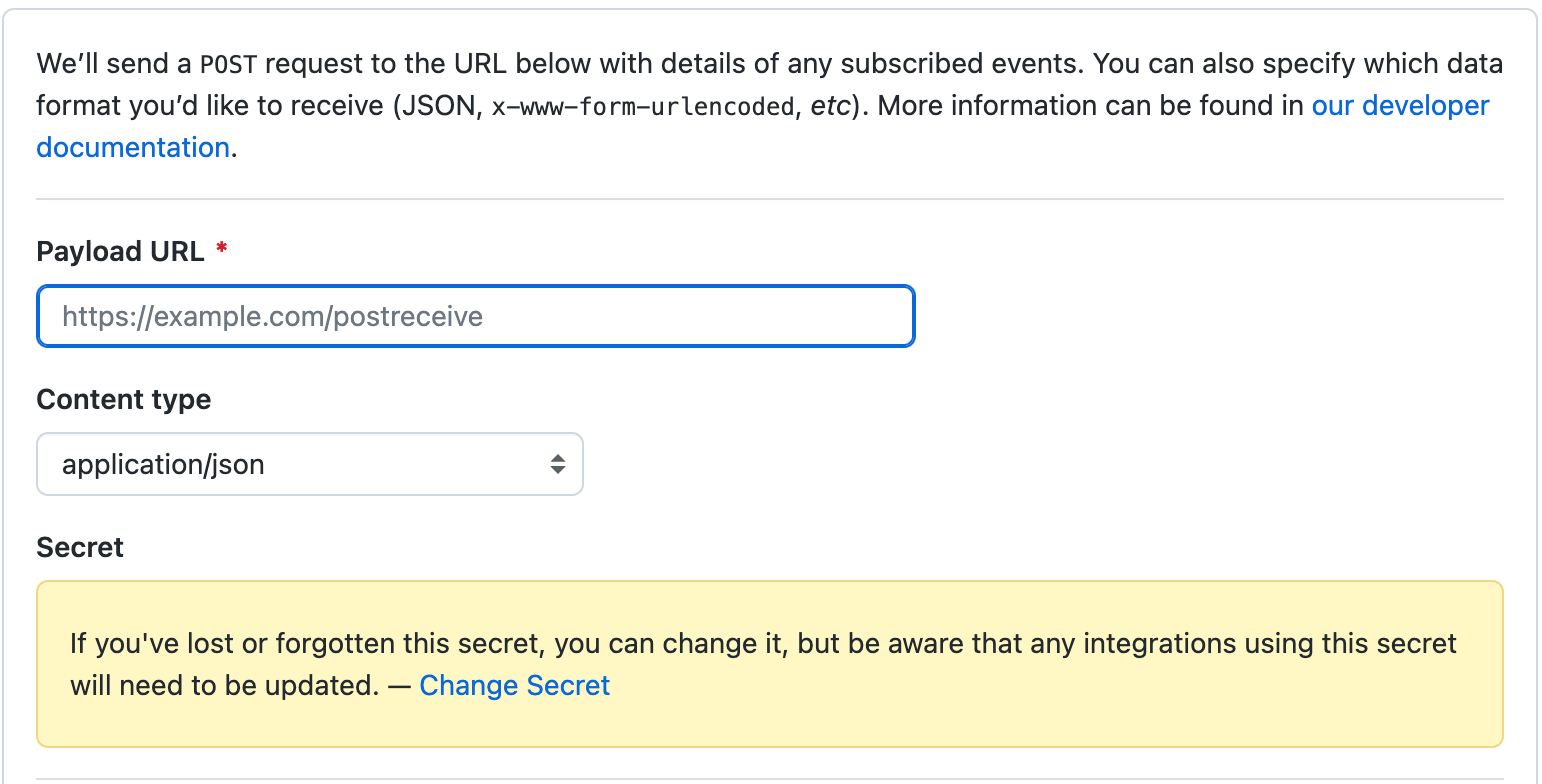
- In the "Payload URL" we insert the URL from the SSM store under the name /cfg-srv-exmpl/dev/apis/rest-api/api-url, again, if you used the template, then under this name, there will be the address of the API gateway itself.
- Do not forget to specify "application/json" for content type and also the secret. Secret is our second generated API key.

Github will use this secret to get the sha256 hash. Further, as soon as something is updated in the config repository, the github will make a POST request to the address we specified in Payload URL, it will generate a hash and put it in the X-hub-signature-256 header and since only we know this secret, no one else can make the same request.
Then in our function we receive this request, and we can understand that it was made by github with our secret (credits), we make an additional request via github API to get the config and write it to the database, so after each change in the config in github, it will be synchronized with the database, and the application will use the current version.
...
    await checkSignature(event.headers)

    const { encoding, content } = await fetch(
      JSON.parse(event.body!).repository.contents_url.replace("{+path}", "config.json")
    ).then((res) => res.json());

    const json = JSON.parse(Buffer.from(content, encoding).toString());

    await syncConfig(json);
...
Let's go through the steps again.
- We deploy an API gateway with two functions (private and public) with a connection to the database
- Check that two API keys are being created
- We use one key for reading in a private function
- We make a webhook for the repository with the config, and sign each request with the second API key
- When changing the config, a request is made to the webhook, the function checks the signature and if everything is OK, then the config is updated in the database
- Any application that knows the API key for reading can read the config file and inject it into its code.
Pros:
- minimum effort, almost everything unfolds in one line
- auth system for reading config out of the box
- version control system for config out of the box
- authorized config changes out of the box
- load management out of the box
The example config-server is under the link.
Now, we can finally solve our dynamic content problem.
Let's use NextJs as an example.
export async function getServerSideProps() {
  const config = await fetch("https://api-gateway-url/dev/config?id=project", {
    headers: {
      "x-api-key": "some-api-key-hash",
    },
  }).then((res) => res.json());

  return {
    props: {
      itemsPerPage: config.itemsPerPage,
    },
  };
}
As soon as we change itemsPerPage in our config, these changes will be automatically applied to our application without the need to re-deploy the code to production.